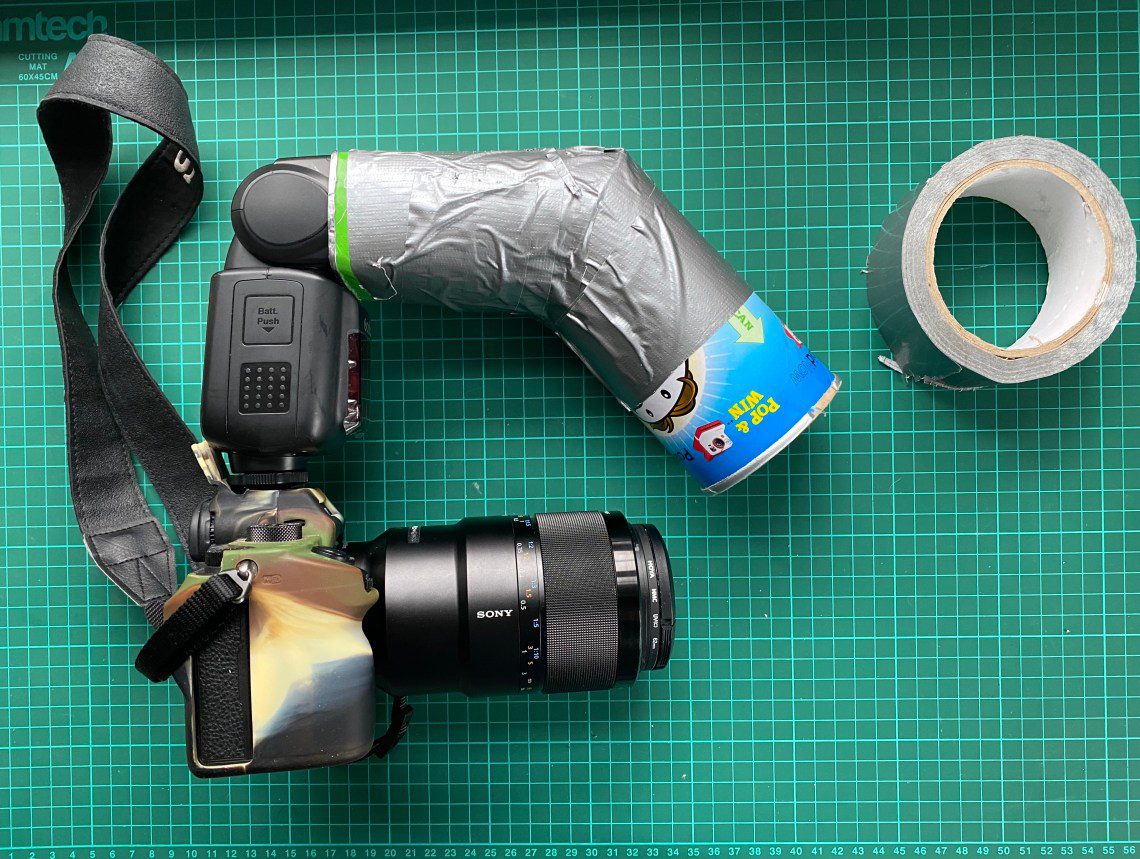
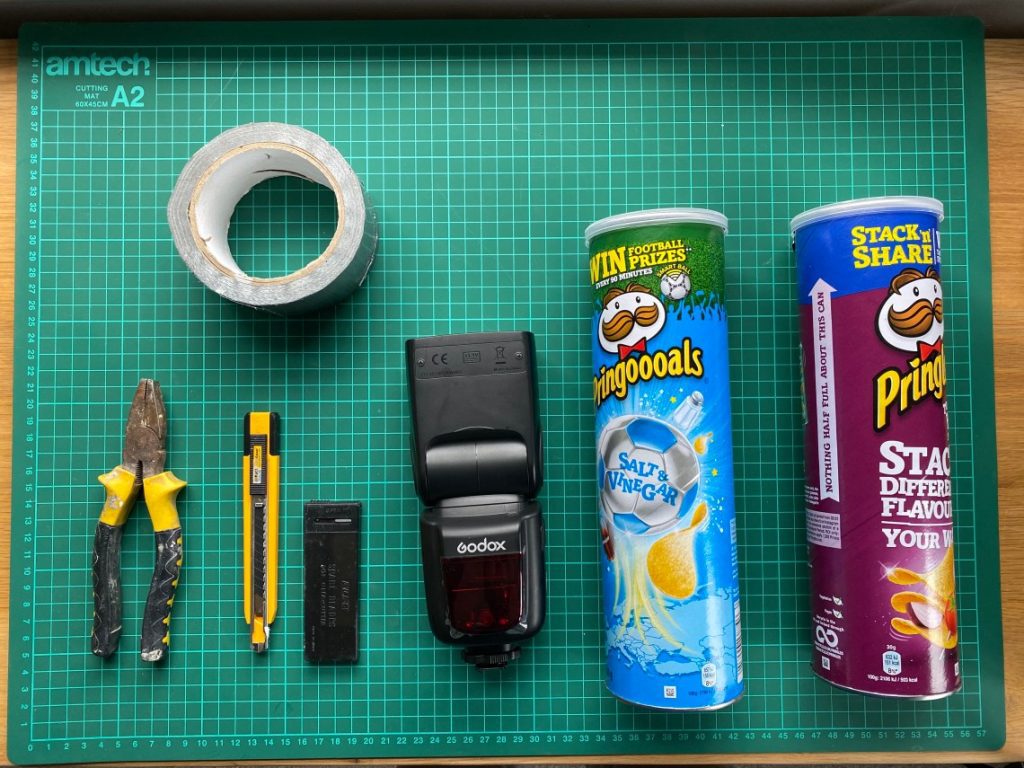
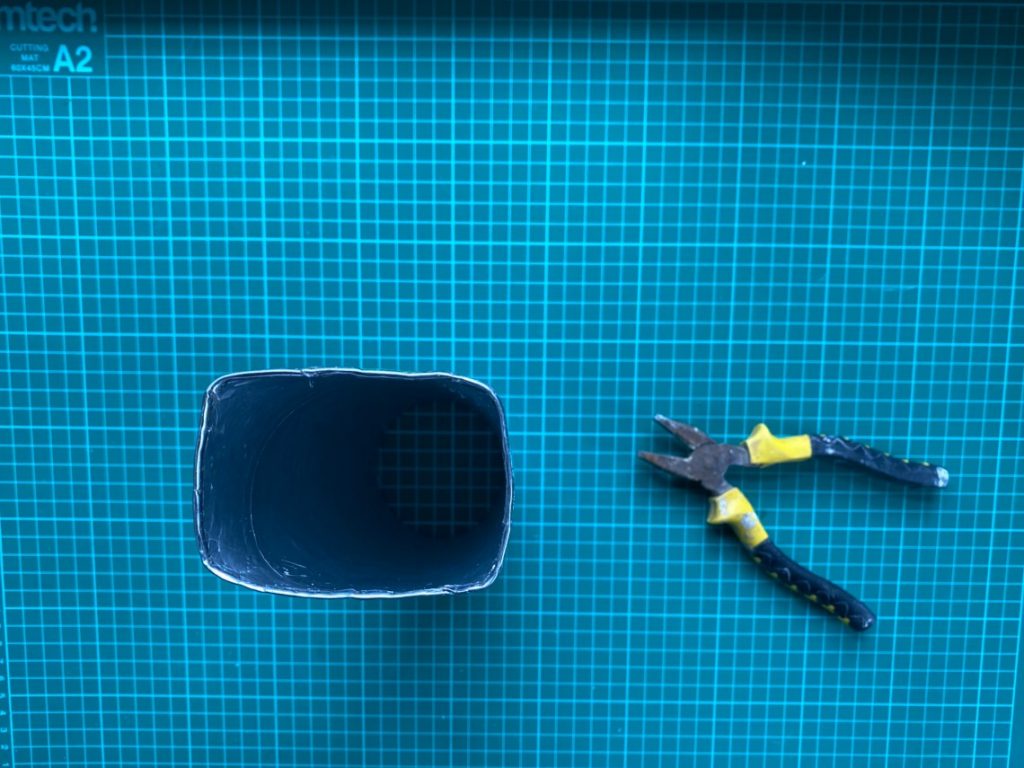
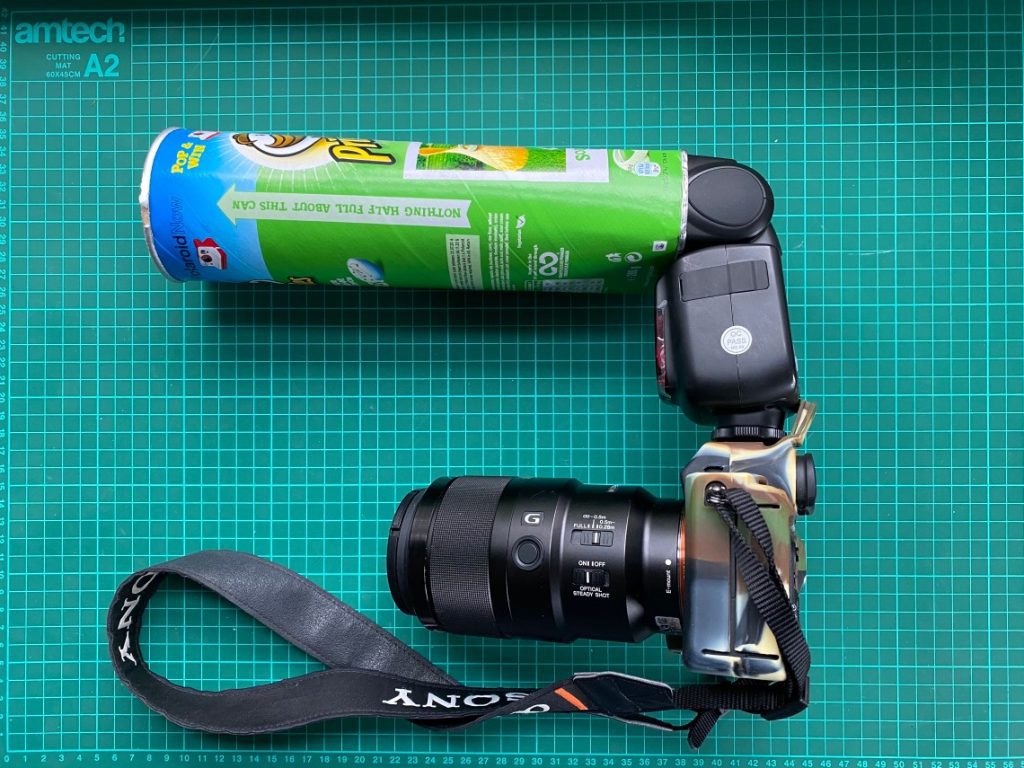
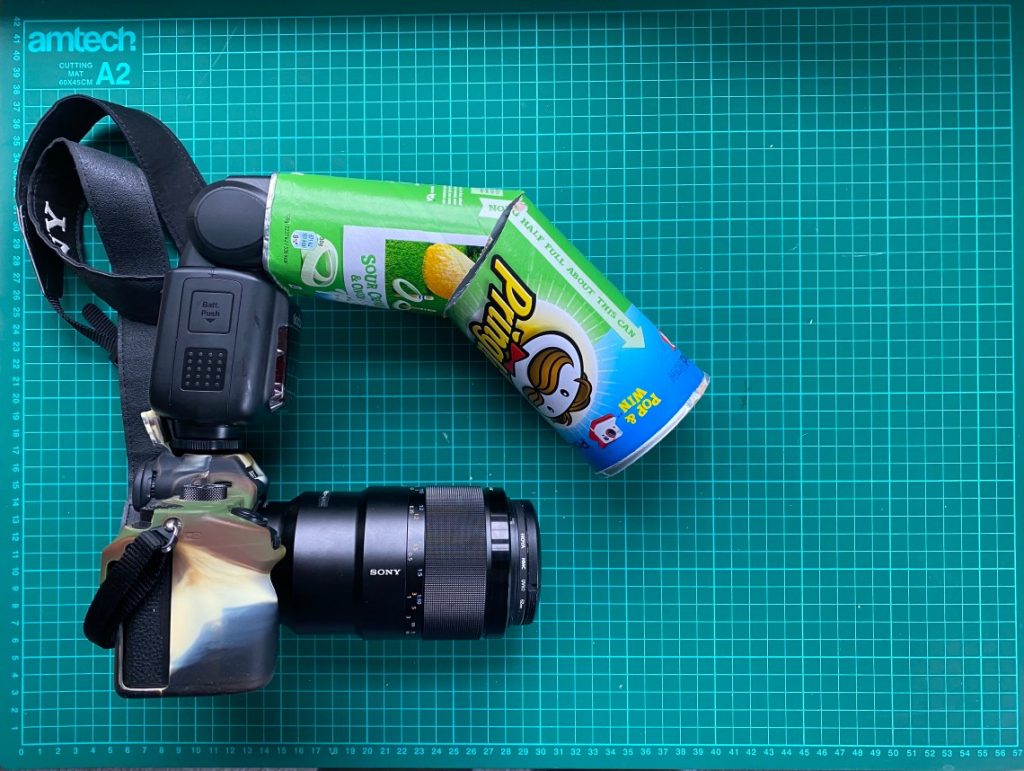
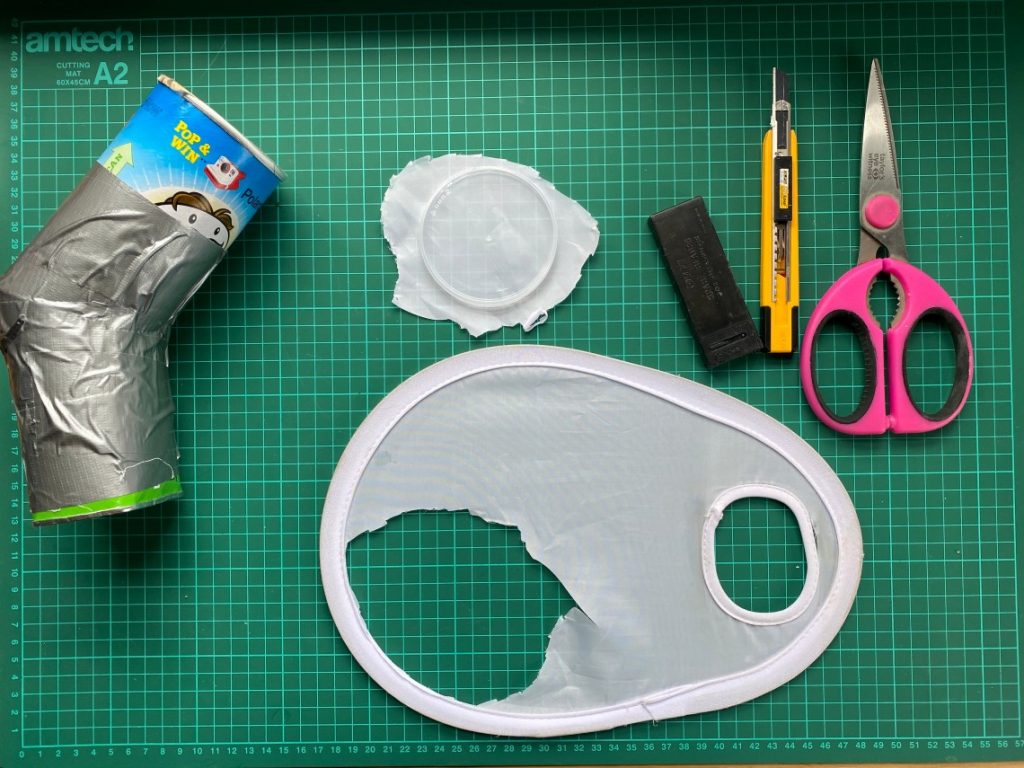
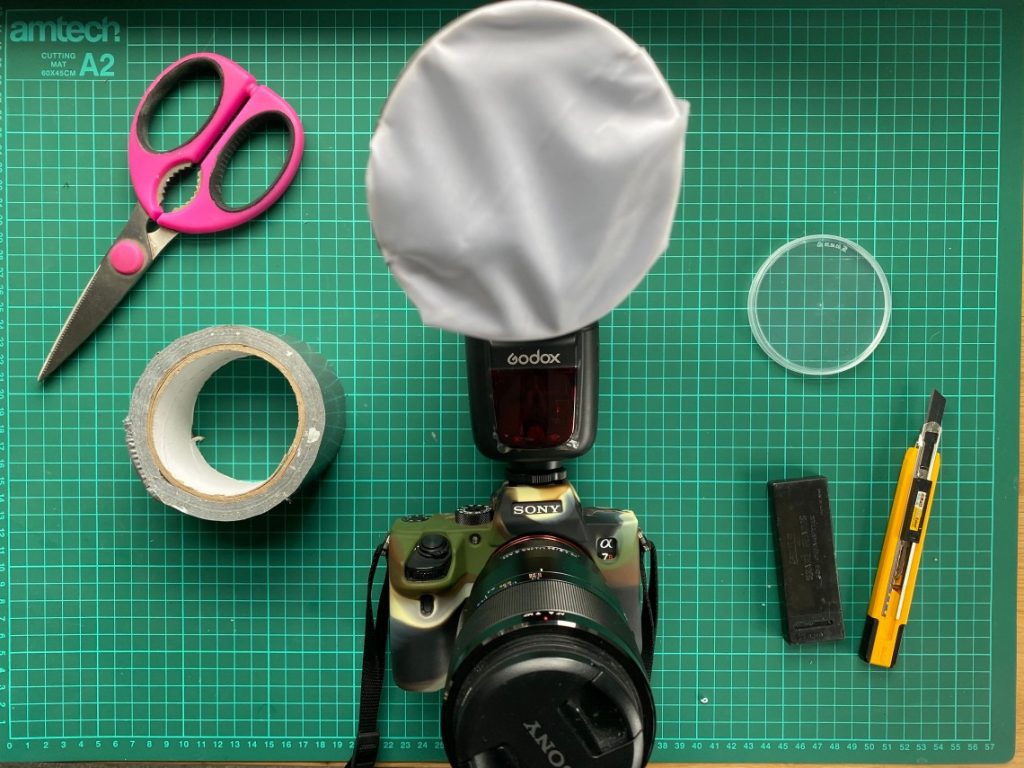
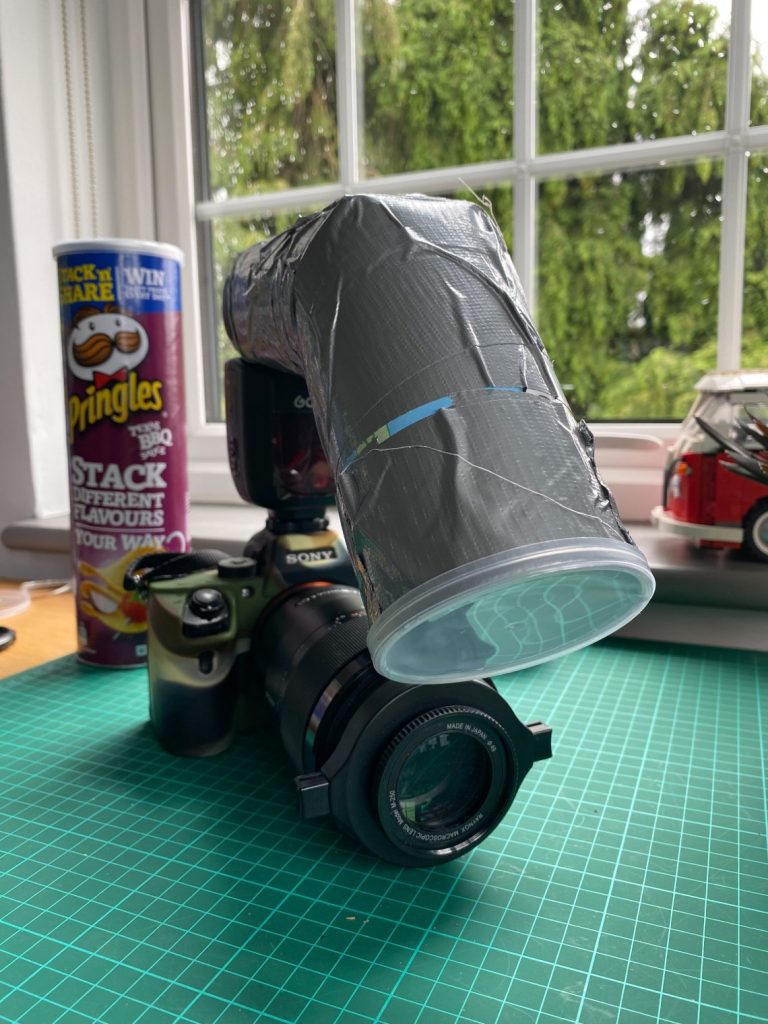
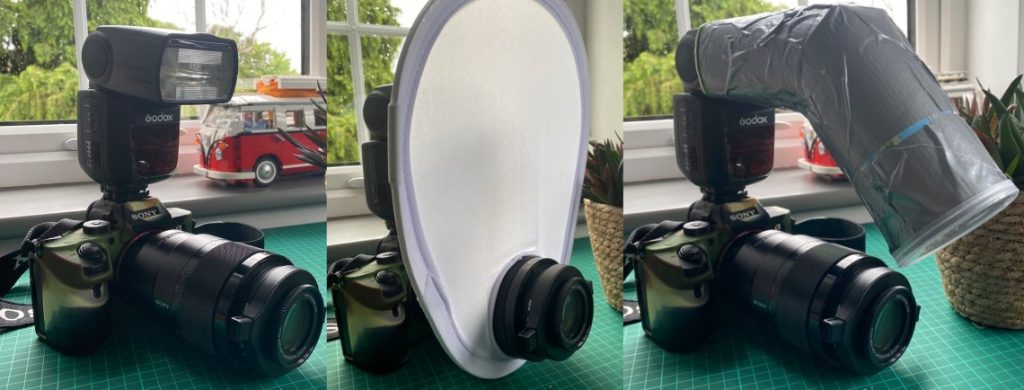
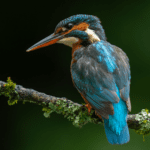
Diffusing light from your flash


You may also like
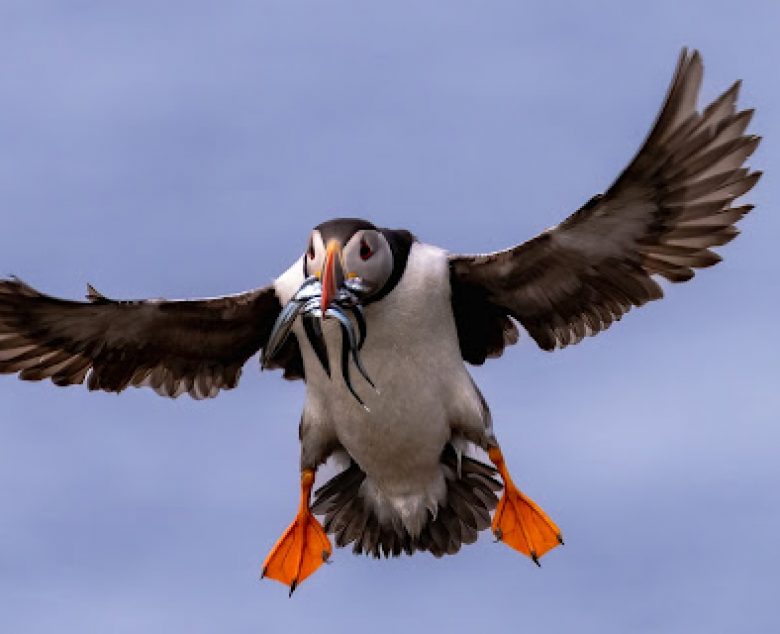
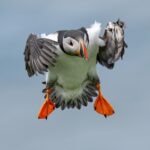
Where to photograph Atlantic Puffins in the UK
Where to Photograph Atlantic Puffins in the UK Atlantic puffin (Fratercula artica) GB Population 580,000 pairsLength 26-29cm Wings
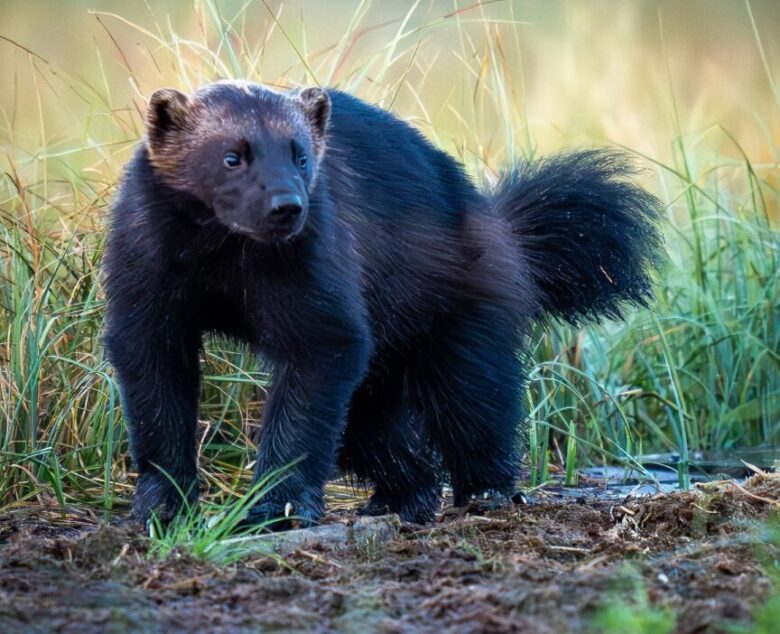
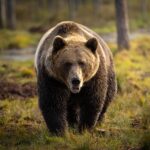
Wolverines in Finland: A Wildlife Photographer’s Dream
Words can’t capture the thrill of spotting a wolverine in the wild for the first time. Deep in the heart of Finland’s wilderne

What’s in my camera bag?
Sony α7R III 35mm full-frame camera with autofocus (ILCE-7RM3) My first camera and now my second camera at events or used for vid
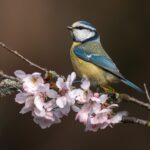
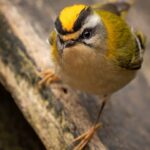
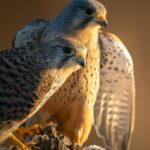
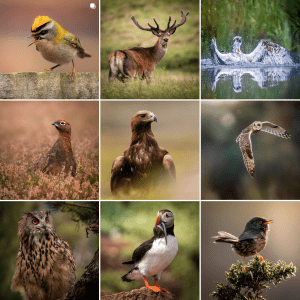
Featured Posts

GET SOCIAL
INSTAGRAM
@paulbrowning.photography
@snowboard.paul
@macro.paul
TWITTER
@paul__browning_
FACEBOOK
@PaulBrowningPhotography
@snowboardpaul
@macro.paul.surrey
![]()
Get in Touch
Find me on Insta
GET SOCIAL
INSTAGRAM
@paulbrowning.photography
@snowboard.paul
@macro.paul
TWITTER
@paul__browning_
FACEBOOK
@PaulBrowningPhotography
@snowboardpaul
@macro.paul.surrey
![]()

Leave a Reply